Got myself a domain name and start off afresh HERE.
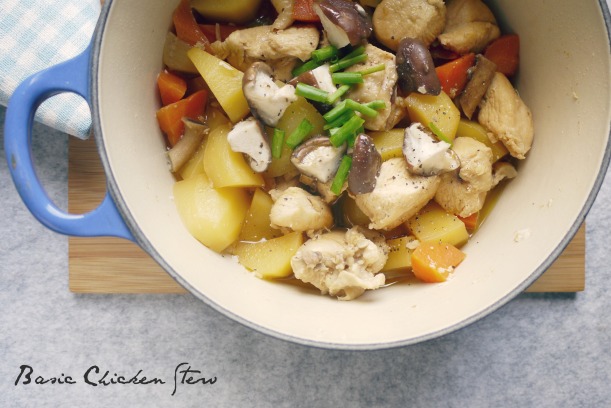
Basic Chicken Stew
My version of chicken stew uses lesser meat and I am glad that my family is consuming more vegetables than meat.
This chicken stew basically needs only carrots, potatoes and chicken meat. Other ingredients that would be great with this recipe includes celery, firm tofu and zucchini. I usually see what’s left in the fridge, to vary the dish slightly.
On this particular day, I happen to see a few remaining stalks for fresh shitake mushrooms, and mushrooms are perfect for stew!
BASIC CHICKEN STEW
____________
1 chicken breast, chopped into bite size
4 medium potatoes, peel and cut into cubes
1/2 small carrot, peel and cut into cubes
4 shitake mushrooms, wash and chop into quarters
3 cloves garlic, chopped finely
2 tablespoons cooking oil
2 cup hot water
1.5 tablespoon light soy sauce
2 tablespoon oyster sauce
dash of pepper and sesame oil, to taste
spring onion, only the green portion, cut into 1 cm length, for garnish
____________
01. Heat up a french oven over medium fire, pour in the oil and fry chopped garlic until fragrant.
02. Add in the chicken breast meat, and cook until they turn white and opaque.
03. Add in chopped potatoes and carrots, stir fry for about 1 minute.
04. Pour the soy sauce and oyster sauce in, and mix the sauce with the ingredients well with a large spoon.
05. Add in the hot water, and bring to a rolling boil.
06. Reduce heat to low, cover the french oven and let simmer for about 30 minutes, or until the water is reduced to a thick gravy.
07. 5 minutes before turning off the fire, sprinkle the shitake mushrooms on top and let the steam cook the mushroom.*
08. Turn off heat, add a dash of pepper and sesame oil, garnish with chopped spring onions, serve immediately.
____________
+++/* I did not simmer the fresh shitake mushrooms with the stew as it would shrink to an impossible size by the time the cooking is done. So I only added it in a few minutes before the stew is done.
Simple Tossed E-Fu Noodles
The pantry drawer was getting a little crowded with 4 different types of noodles, all unopened. And so my little noodle project started, just to clear them all before getting newer stocks.
This is my another one of my favorite “almost-instant” noodle. Takes me less than 20 minutes to get everything ready.
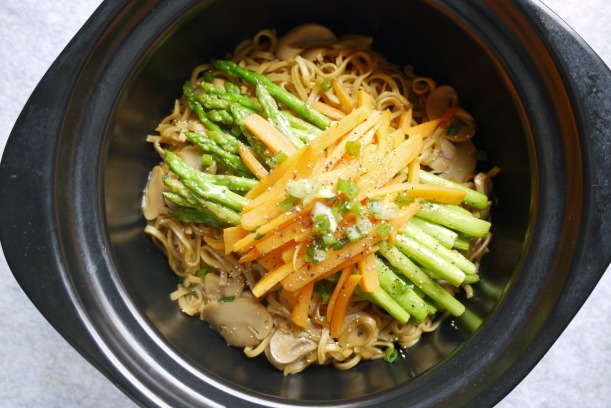
I braised these E-Fu noodles with sliced canned button mushrooms in the pot, sauteed the the asparagus and carrots separately, then topped on the noodles upon serving. Then just toss and eat.
RECIPE : SIMPLE TOSSED E-FU NOODLES
____________
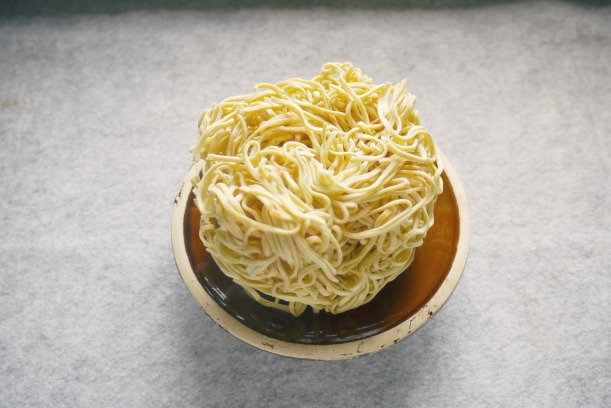
2 balls of dried E-Fu noodles , about 50g each
4 large button mushrooms (canned), sliced thinly
1 tablespoon oyster sauce
200ml water
15-20 stalks of thin asparagus, wash and trim off end
1/2 small carrot, julienned
1 tablespoon of cooking oil, I used peanut
pepper, to taste
sesame oil, to taste
spring onions, as garnish
____________
01. Mix oyster sauce with water in a small pot and bring to boil.
02. Add in the noodles, and stir occasionally to loosen up the noodles. The water level should be just nice to cover the all noodles.
03. Add in the sliced mushrooms, turn down the fire and simmer. Stir occasionally. Turn off fire once all the liquid is absorbed.
04. In a skillet, heat up half a tablespoon of oil over medium fire. Add asparagus and cook for about 30 seconds. Add 1 teaspoon of water into the skillet and give it a stir.*
05. Move the cooked asparagus onto a plate, set aside.
06. Wipe off any remaining gravy/liquid from the skillet with a clean dry rag / paper towel. Repeat cooking with the julienned carrots.
07. Arrange the asparagus and carrots on the noodles.
08. Add a dash of pepper and sesame oil, garnish with chopped spring onions.
09. Serve immediately.
____________
+++ /*the steam from the water will cook through the asparagus nicely with a crunch, instead of turning soggy from over cooking. I use this method all the time to prevent my vegetables from over cooking, while retaining their bright colors.
+++/ the brand of E-fu noodles i used already has some salty flavor, so I did not add any salt or soy sauce. feel free season to taste with soy sauce if other brands are more bland.
Blueberry Semifreddo Ice Cream
These were made about 2 months back, in spur of the moment, when I found all the ingredients ready in my pantry. Once done, I made no efforts whatsoever to note the recipe source, except that it was a cooking blog that I follow. Big mistake, I follow like 1000+ cooking blogs.
Within a week the webpage link to the recipe on my internet browser was taken over many times by other delicious links. I finally realized that I had lost the source, when the “back” button on my browser never landed me correctly on the recipe page. I suspect the browser had probably crashed during one of the days, and the link disappeared, along with many others that I never had the chance to try out.
I vaguely remembered that I made it with banana, coconut and blueberries. Turned out the original recipe called for strawberries. No wonder google could not help.
The hero this time? My pinterest account. Unknowingly, I had saved the page all along; the surf and pin action was so natural that I became unaware of it. This episode of the information/recipe overload is bound to repeat itself. And as I am typing this, I have 9 other tabs opened : wondering what to cook for dinner tonight and next week, where to visit over the coming long weekend, which chocolate cake look more enticing : this or this?
In the meantime, I am just glad that I have started this little digital place for journaling my projects and recipes. Now if only I spend more time typing them out. I still have some photos of a simple roast potato dish and a DIY staycation idea in my SD card. The potato recipe is still somewhere to be dug out, while long weekends that would have suited the staycation article I have in mind, have come and gone. Maybe I’ll tackle on these 2 first, before I start surfing for more inspirations.
And here’s the ice cream recipe that I was looking around for.
RECIPE : BLUEBERRY SEMIFREDDO ICE CREAM
/ Adapted from here
____________
1/2 cup frozen blueberries
1 large banana, ripe
1 – 2 tablespoon honey, depending on the sweetness of the banana
1 tablespoon lemon juice
1 can coconut cream (13oz/384ml), chilled overnight
1 teaspoon vanilla extract
____________
01. Puree the blueberries, banana, honey and lemon juice in a blender till smooth.
02. Scoop out chilled coconut cream into a large bowl, and whisk till fluffy.
03. Mix in vanilla extract.
04. Fold in the fruit puree. It doesn’t need to be well mixed.
05. Pour into a container, cover with foil, and chill till set.
Walnut Wholemeal Bread
Unlike most bread makers I know who bake breads regularly at home, my homemade bread routine did not take off well with a bread making machine. The model I bought produced bread with a very synthetic aroma that I couldn’t quite figure out what it was even till now. As it was a discontinued model that went for a song, I had no after sales service to rely on.
For a while, I thought my recipes were wrong. Yeast was not a familiar ingredient then, so I thought I had put in too much yeast, cos I could not pinpoint what other ingredient could attribute to that strange smell during the whole bread making process. After throwing about 5 loaves away, I gave up troubleshooting the recipe, and decided that yeast was not just my kind of ingredient. And along the way, concluded that bread making machines make strange smelling bread.
It was not until I got a mixer which came with the dough hook, that eventually turned me into an avid bread maker. The breads I kneaded with the mixer and baked in the oven no longer emit that strange smell anymore, so I could safely conclude that there was indeed something wrong with my bread machine. Although I wished I could handle a dough from start to finish like this, the mixer made the task too easy (except for No-Knead Bread), plus my hands are too warm to handle the dough, not without breaking down the gluten. A half machine homemade bread is still better than a factory produced one anyway. No E-some-number ingredients. No Preservatives.
I am beginning to get too comfortable with this Champion’s Milk Toast recipe, so I started adapting it to bake a healthier wholemeal version. My first not-so-successful attempt that had me replacing the bread flour completely with wholemeal flour, ended up with a dense loaf. So this time, I tried with a plain flour and wholemeal flour mixture.
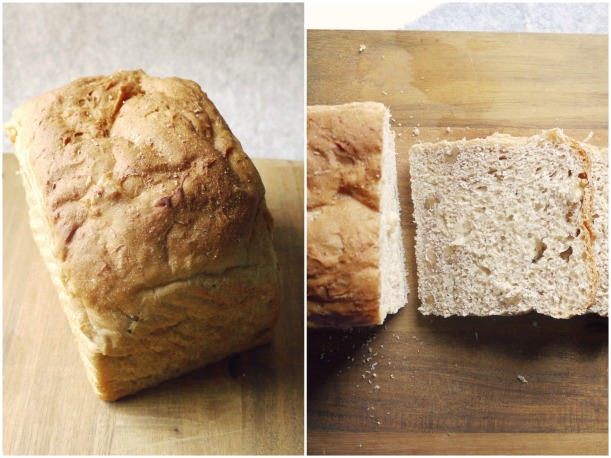
The first proof went well enough to encourage me to added some chopped walnuts into the dough during final shaping stage. I decided not to use my usual “swiss roll” shaping method to create a neat looking loaf, but with this folding and sealing method instead. The end result is a lovely rustic looking loaf of bread, that still maintains the fluffy texture of the original Champion’s Milk Toast. This 50/50 plain/wholemeal flour mixture looks to stay while I try out a more flavors, before moving on to a 100% wholemeal recipe. I need more successful results as encouragement!
RECIPE : WALNUT WHOLEMEAL BREAD
/ Adapted from here
____________
150g plain flour or bread flour
150g wholemeal flour
24g fine sugar
1/2 teaspoon sea salt
135g water
69g fresh milk
3/4 teaspoon instant yeast
15g unsalted butter, cubed
30g walnut, roughly chopped
_____________
01. Put all ingredients, EXCEPT BUTTER & WALNUTS, in the mixing bowl.
02. With a flat beater attachment, mix all ingredients at low speed (1 on my kitchenaid)
03. Change to a dough hook, and continue to knead the dough, adding cubed butter gradually. Keep kneading till dough reached window pane stage. You may increase the speed of the mixer to level 2 halfway when the dough starts to look stretchy and pulls away from the sides of the bowl.
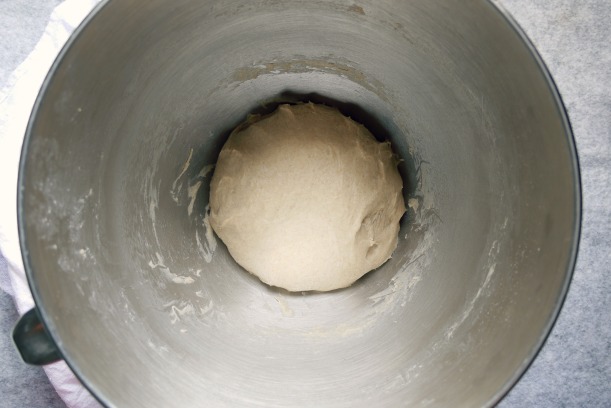
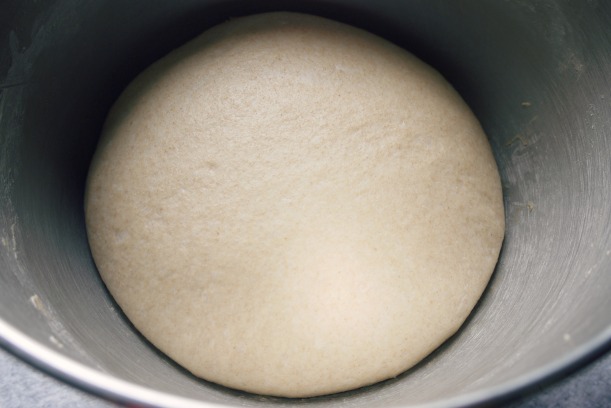
04. Remove the bowl from the mixer, grease working hand slightly with butter so that the dough won’t stick to fingers, loosely shape the dough into a ball*.
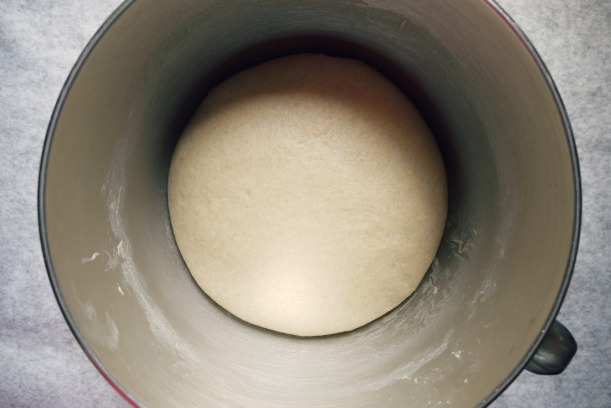
05. Cover the bowl with a clean damp tea towel, and let it proof for at least 60 minutes (or until it double in size).
06. After the dough has double in size, punch the dough down, and move it to a clean work top.
07. Roll loosely into a ball, leave it on the counter covered with towel for 15 minutes.
08. After 15 minutes, the dough will rise again. Flatten the dough and add chopped walnuts to the dough. Knead to mix the walnut well into the dough.
09. Shape the dough into a loaf shape and place it in the bread tin.
10. Covered the bread tin with towel, and let it have a final rise.
11. Once dough has risen to fill up the bread tin, bake it for 30minutes in a preheated oven at 170C / 240F.
12. When the baking time is over, remove the bread from the bread tin immediately, and let it cool down completely on a rack.
___________
+++ / *this dough will be sticky, almost impossible not to stick to fingers when touched, so I had to use the tucking method (using greased fingers to tuck/fold the sides of the dough to its base) to roughly shape it into a neat ball for its first proof. See second photo, it’s not all smooth and perfect, but good enough.
+++ / my bread tin measures 20x10x10 inches.
